What the Course Covers
Watch the video below to find out what you are going to learn throughout this course.
I would recommend working through the course in the order that it is presented to you as it is structured in a logical and progressive manner, i.e. each section builds upon the content and knowledge of the previous one.
Please find below a summary of the course contents so that you know what to expect in all of the six sections of this masterclass.
Course Summary
Section 1 – Introduction and Getting Started
- Introduction to the Course
- Why Greetings Cards?
- Aims and Objectives of the Course
- Getting to Know Each Other
- What is Linocut?
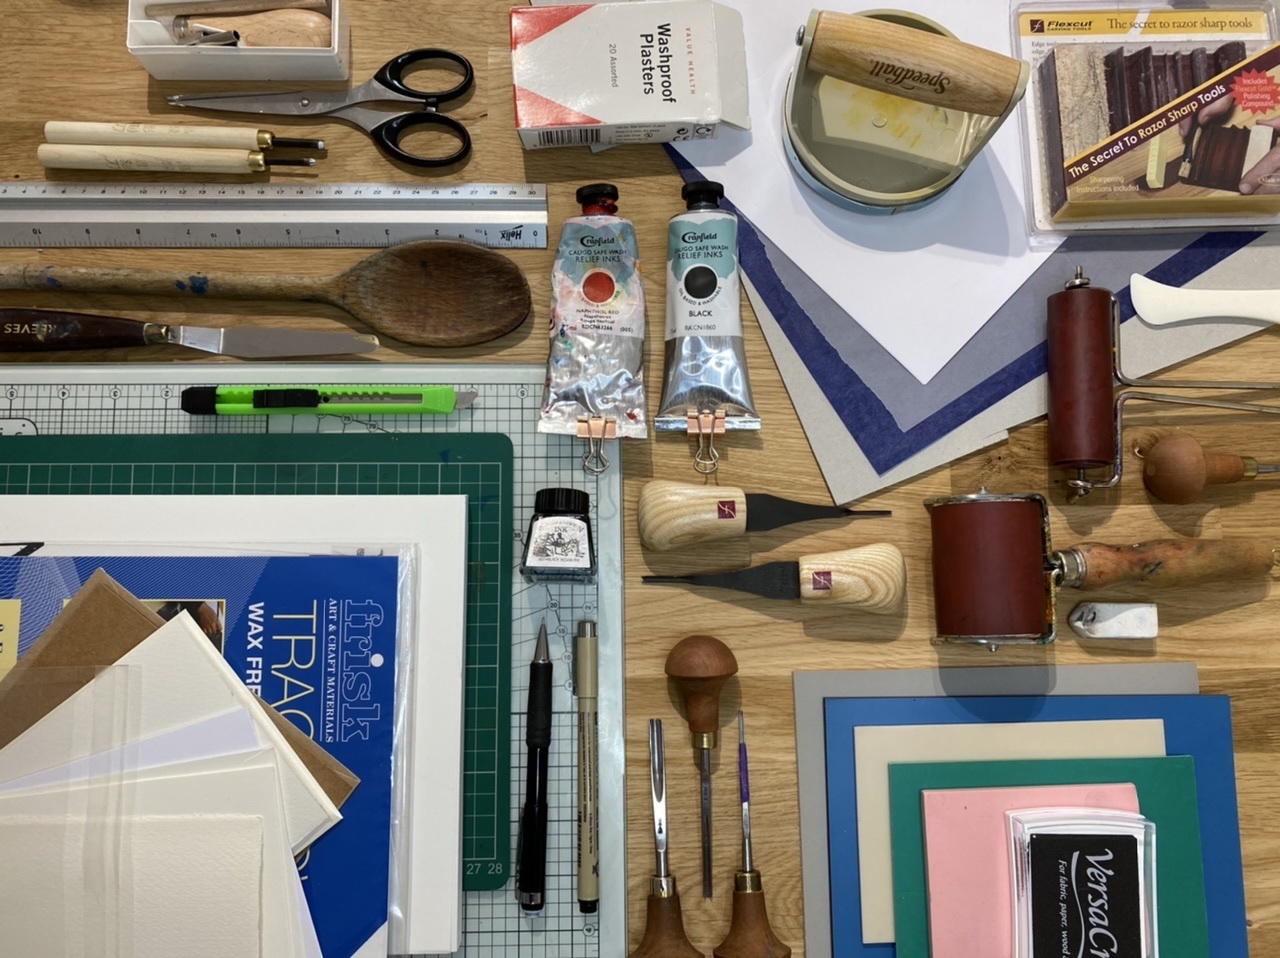
- Tools and Materials Required (overview)
Section 2 – Design Ideas and Inspiration
- Example Greetings Cards
- Where to Get Inspiration
- Image Interpretation
- Designing for Cards - Example 1
- Creating a Simple Design - Example 2
Section 3 – Preparing and Cutting the Lino Block
- All About Lino
- Cutting Tools in Detail
- Transfer design to the Block - two examples
- Cutting Tips
- Cut the Design - Example 1
- TIP - Trimming the block
- Cut the design – Example 2
Section 4 – Inking and Hand Printing
- All About Inks
- About Paper
- Inking the Block
- Proof Printing with Ink Pads
- Rainbow Rolling (Blended Colour Inking)
- Printing a Proof by Hand - Two Demonstrations
- Making a Registration Board (Two Examples)
- Alternatives to a Registration Board
- A Word About Colour
- Printing Using a Registration Board
- Applying Two Colours
- Printing Demonstration 2
- Relief Press Demo
Section 5 – Advanced Techniques and Card Projects
- Advanced Technique - Creating a two-block design
a. Prepare design
b. Transfer design
c. Cutting the blocks
d. Printing the cards
- Advanced Technique - Digitising your designs
- Project - Hand Lettering
- Project - Linocut lettering
- Project - Hand Colouring
Section 6 – Presentation and Final Thoughts
- Folding and finishing your hand printed cards
- Final presentation of cards
- Selling your cards
- Thank you and conclusion

Comments
At the bottom of each section of this course portal there is a comments section. Feel free to use this section to ask questions, make comments and share your progress throughout. You can upload pictures (one at a time) as well as write text.
This will be seen by both myself (Susan) and other students of the course. This way we all get to connect and share the experience of the masterclass together.
There is also a special Facebook Support Group for this course - details are coming up in the ‘Getting to Know Each Other’ section.
See you soon...